Simple DIY Chalkboard Tutorial
Super Easy DIY Chalkboard Tutorial Using an Old Cake Board
Creating chalkboards is not only fun but also incredibly useful. They are perfect for writing shopping lists, reminders, and even for beautiful handwritten designs and doodle art. A quick search for chalkboard art or DIY chalkboard ideas will reveal a wealth of stunning lettering designs and artistic creations.
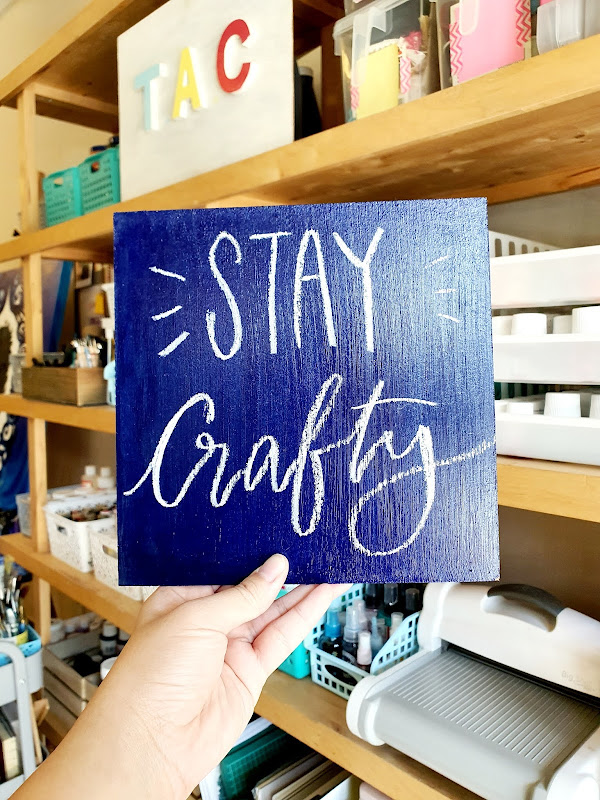
In one of my previous craft tips, I shared various chalkboard paints and mediums you can use to make your own chalkboard. It’s incredibly easy and not complicated at all, with a very simple supply list. Once you realize how easy it is, trust me, you’ll be making chalkboards or turning every blank wall or door into a colorful chalkboard background.
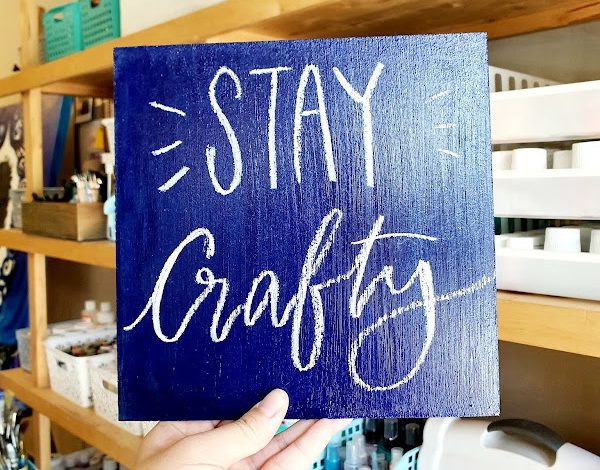
Recently, I wanted to create a small chalkboard for some fun Instagram chalk lettering. I found a second-hand cake board that was the perfect size to upgrade into a chalkboard for writing cute quotes.
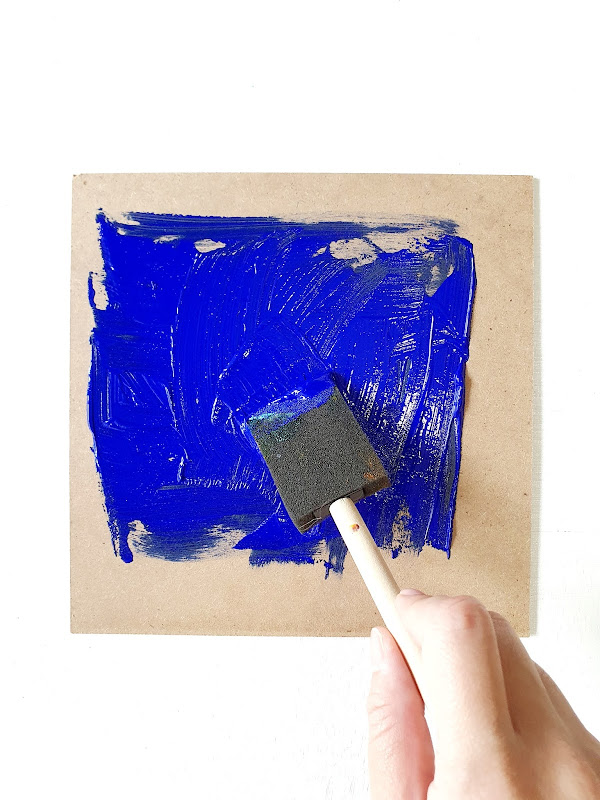
Here’s the supply list for the DIY chalkboard background:
1. Chalkboard medium
2. Cake board
3. Sponge brush
4. Acrylic paint
Step 1
Apply an even layer of acrylic paint to the cake board. The thickness of the paint is entirely up to you. If you want a thick layer of paint, let it dry and apply a second coat until you’re satisfied. Then, let it dry for a few hours. You can use a blow dryer, but I prefer to let it air dry naturally.
Step 2
Once dry, pour some chalkboard medium onto the board and apply an even coat. Just like in step 1, the number of layers depends on your preference. Once done, let it dry again.
Step 3
That’s it, you’re done! Now you can start writing and doodling on your chalkboard! I use chalk markers from Craft Decor, but you can always use regular chalk sticks from a stationery store. After using the chalkboard, you can clean the surface with a kitchen towel and baby wipes.
Didn’t I tell you it was super simple? Enjoy your doodling and lettering fun!
