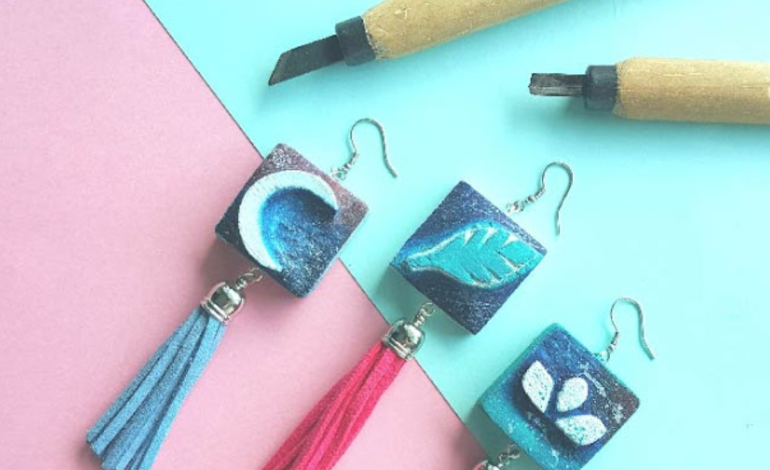
DIY Wood Carved Earrings
My First Foray into Wood Carving:
The Idea:
The last time I carved wood was in high school, as part of our art class, and that was it. Initially, I thought about making stamps, then I decided to carve on wood. Eventually, I realized how fun it would be to turn my carvings into jewelry.
 Materials Used:
The materials were quite simple. I used:
– Mini wood blocks (from the local hardware store or Daiso)
– Wood carving tools (from a craft store or stationery shop)
– 100-grit sandpaper
– Acrylic paint
– Small and medium round brushes
– Jo Sonja background colors
– Tassels
– Small jump rings
– Small eye pins for jewelry making (from a craft store)
– Earring hooks
 The Process:
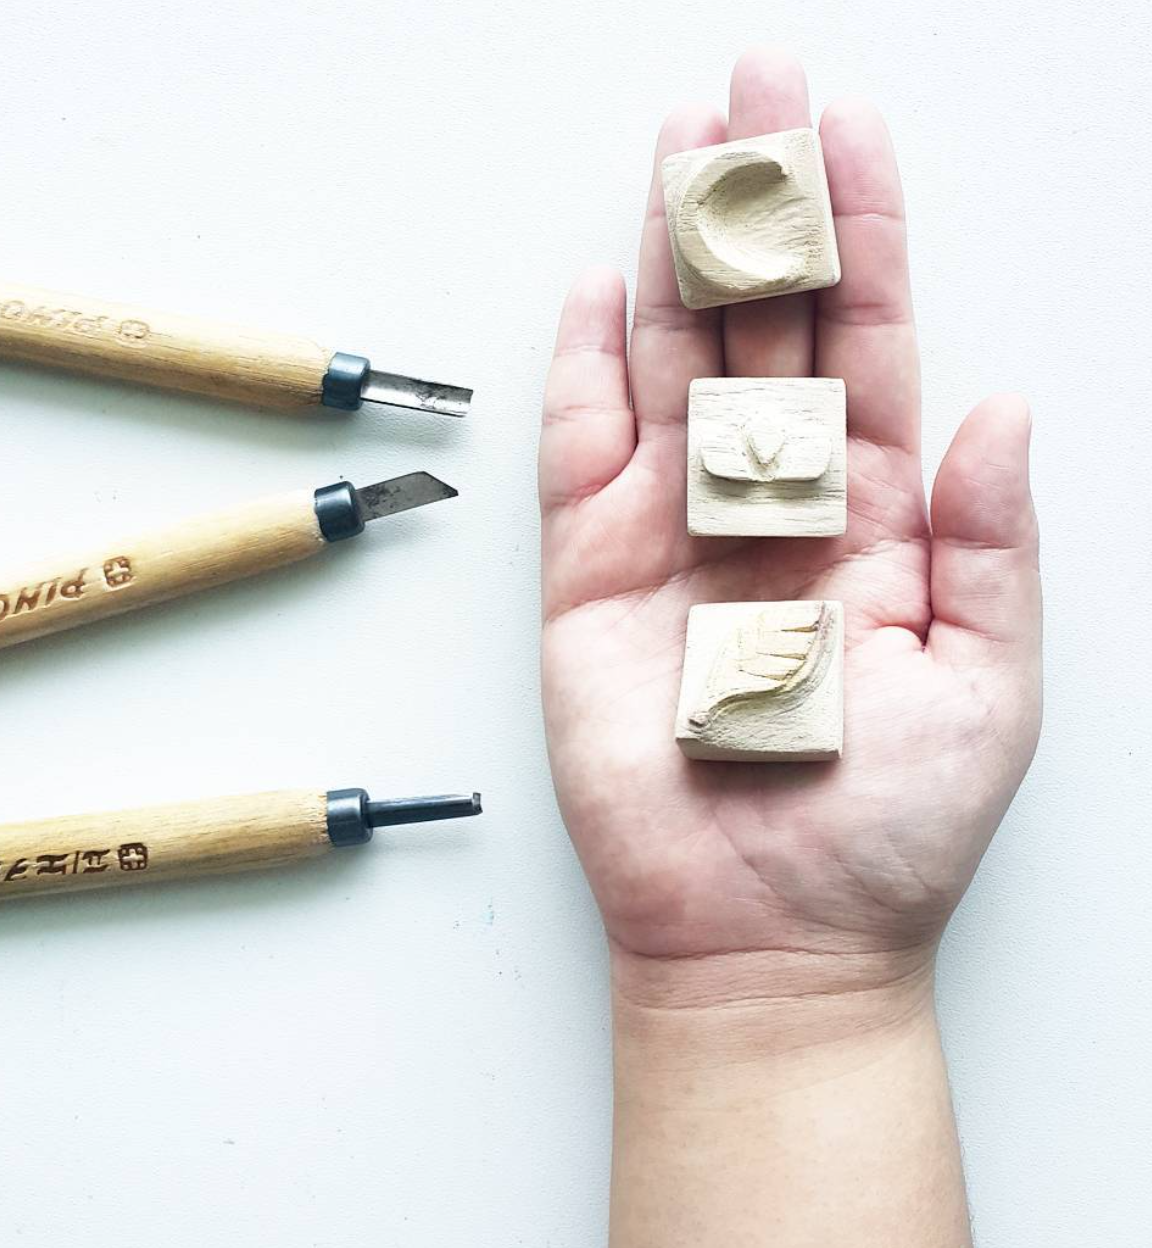
First, I sketched the top design on the wood with a pencil, then gradually carved around the outline to create its shape, working slowly to achieve a certain depth for a “relief” design.
I created three simple designs to see how far I could go with this. (Also, because it’s a bit addictive!) It was slightly painful, but not as challenging as I had imagined.
Once the carving was complete, I sanded it with 100-grit sandpaper.
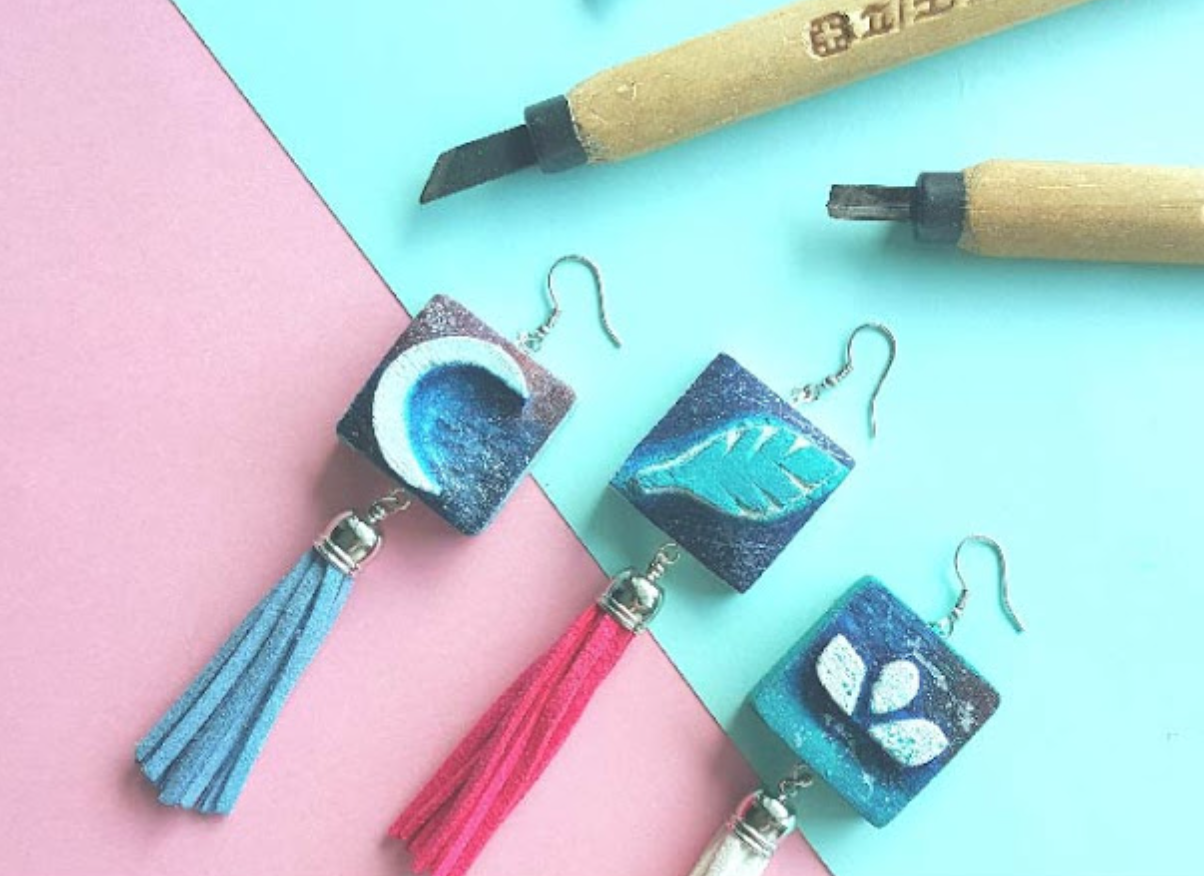
I wanted a galaxy theme, so I used a combination of Prussian blue, red violet, and ultramarine blue, with a touch of white.
After the paint dried, I secured the eye pins for the jump rings, earring hooks, and tassels.
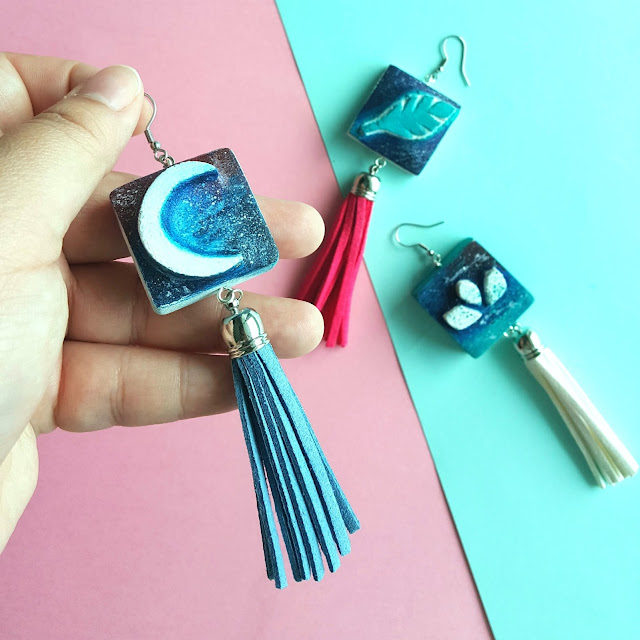
Which design do you like the most?


